Introduction
The new Watermark Plus system is not only designed to generate watermarks to apply to images uploaded, but also designed to help hinder AI watermark removal services.
You have options such as applying tiled copyright text, applying multiple lines of text and applying deterrents such as hatching, random block layers and grain.
Some of these deterrents work well against some watermark removal models but some are just too good.
Example
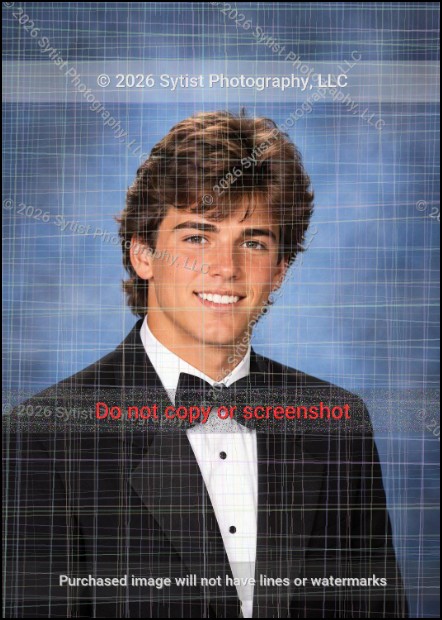
Here is an example of Watermark Plus using the default setting of light cross hatching, tiled text and 3 lines of text.
The cross hatching (the lines) can confuse the AI watermark removers resulting in a poor result which is what we want.
The results below using 4 different watermark removal services. Though most of the text is removed, it is left with the hatching or left with an overprocessed blurry photo.
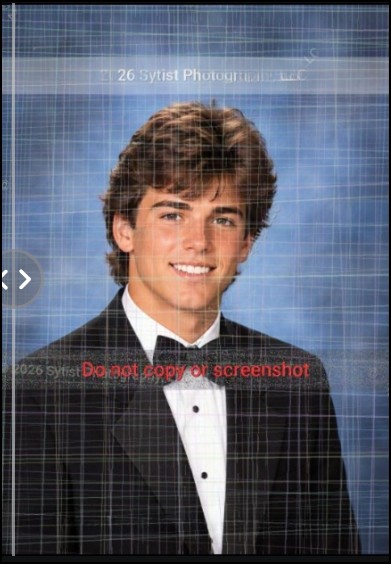
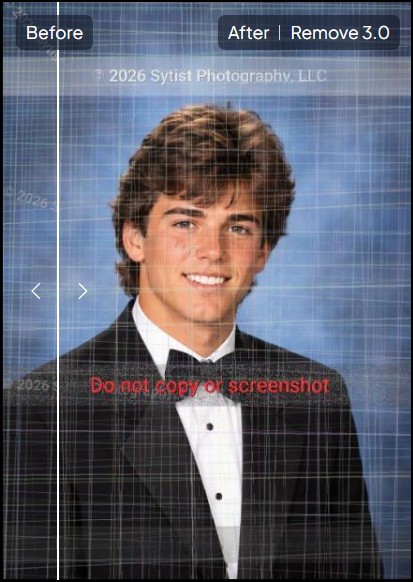
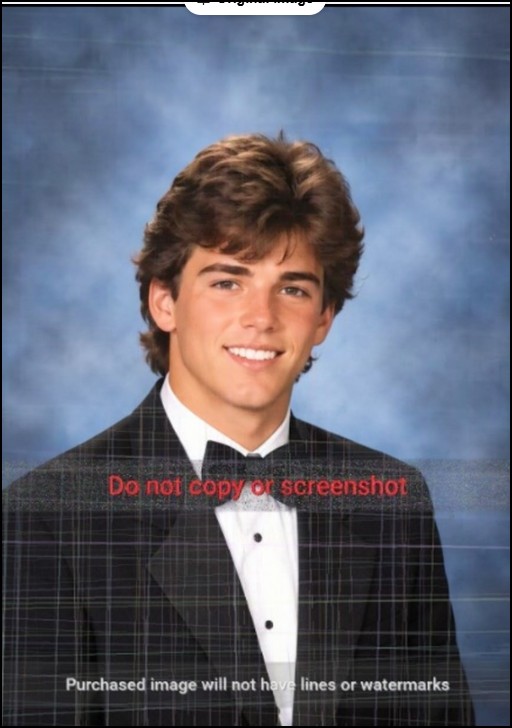
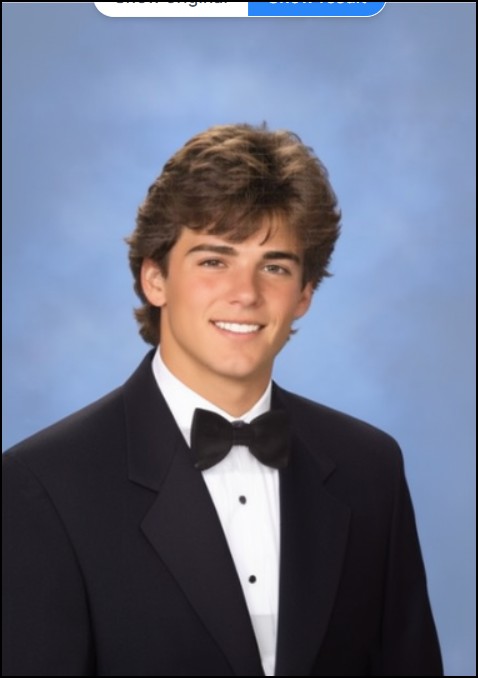
Though this isn't bullet proof, nothing is nowadays, it will help and make it harder for the AI watermark remover services.
How To Use
The option to use Watermark Plus is in the upload dialog when uploading photos. You can use this along with the old watermarking which is now called watermark overlay and logo overlay.
To manage the Watermark Plus settings and profiles, go to Settings -> Watermark Plus.
Please be sure to go over the settings before using.
Profiles
You can create profiles to select from when uploading images. To create a new profile, select an existing profile and select Save as new next to the preview & save button.Previewing
When you make changes to the settings it does not automatically update the preview as it is actually generated on the image. After you have made changes to the settings, click the preview button to update the image preview.
Uploading Your Own Test Images
You can upload your own images to test with. The option is under the preview photo. Note: Your test images need to be as large or larger than your Large photo settings in Settings -> Photo Settings.
Features & Settings
Tiled Text
This option will tile the text you enter randomly to the photo. When enabled, click the settings icon next to the text field to adjust the settings.
- Text. The text you want to display. You can enter [YEAR] and it will display the current year. You can use [WEBSITE_NAME] to use the name of your site from Settings -> Basic Settings or remove that and enter what you want it to display.
- Font: The font family to use.
- Size: Font size
- Opacity: Opacity level of the text. The higher the number the more transparent.
- Color Type: Set color (the color you select), Random Colors (generates random colors for each tile) and Top Colors which are the top 4 colors of 60% center of the photo.
- Font color: The color of the text
- Shadow color: The drop shadow color
- Offset: How far the drop shadow is from the text
- Tile area width and height: The larger the value the less tiles.
- Angle Range: Each tile is placed at a random angle and this controls the maximum degrees it can angle.
Text Lines
You have 3 lines of text that can be applied to the image. When enabled, click the settings icon next to the text field to adjust the settings.
- Text. The text you want to display. You can enter [YEAR] and it will display the current year. You can use [WEBSITE_NAME] to use the name of your site from Settings -> Basic Settings or remove that and enter what you want it to display.
- Font: The font family to use.
- Size: Font size
- Opacity: Opacity level of the text. The higher the number the more transparent.
- % from top: The distance of the text baseline from the top of the image.
- Font color: The color of the text
- Shadow color: The drop shadow color
- Offset: How far the drop shadow is from the text
- Add background: This will add a background behind the text and you can set the background color, opacity and padding. The option to add grain will add a grain layer on top of the text & background. The purpose of the grain is to help hinder AI watermark removal services.
Hatching Layer
The hatching layer adds vertical lines over the image at random angles, opacity and distance (see first example above). Because they are not symmetrical and even, some watermark removal services have a hard time with this. In my experimenting, this one has done the best hindering the AI watermark removers.
Color type: Dark & Light. You may want to use the light option with darker photos and the dark option for lighter photos.
Opacity controls the opacity of the lines.
Grain Layer
This will apply a layer of grain over the entire image.
Random Blocks Layer
This will generate a layer of random blocks and rectangles with different opacity and sizes. This was developed to help hinder AI watermark removal services.
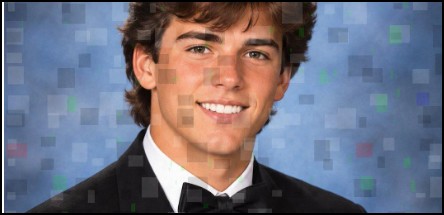
Color type: Grayscale: a combination of dark and light squares. Top colors: top 4 colors of 60% center of the photo.
2 settings for opacity which randomize.
RGB opacity: Random blocks of Red, Green, and Blue are added and this controls the opacity of those
Additional Information
Image Size
The watermarking is applied to the "large" image that is created when uploading photos (Settings -> Photo Settings). The default setting for the large image is set to 1500 pixels max width and height.
If you have your large image smaller, it will make the text larger. So you may have to adjust text sizes based on your large image setting.
Fonts
There are a few fonts to select from. If you want to use a font not available you can upload your own fonts.
To do so, the font file must be a .ttf font (TrueType Font).
Go to Design -> Misc. Images & Files.
Create a new folder called: fonts
Upload your fonts there.
Now they will be listed in the font options.
Defaults
When you select a Watermark Plus profile during upload, it will save the profile you selected and if enabled as the default for uploading photos in that section or category. So you can have one category that has one default profile and another category can have another default profile.
Portrait & Landscape - Check your percentage from top placement
The text placement is set to the text baseline and the percentage from the top of the photo.
A landscape image text placement will be higher than a portrait image. Be sure you test both portrait and landscape images for text line placements.