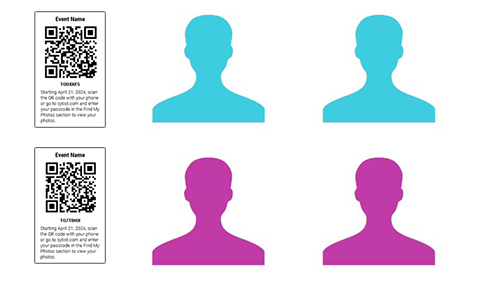
When photographing subjects, you:
- Photograph the subject's QR code sheet (or screenshot. See bottom of page)
- Photograph the subject
- Give the subject the paper with the QR code
- Photograph the next subject's QR code sheet
- Photograph the next subject
- Give the next subject the paper with the QR code
- And so on.
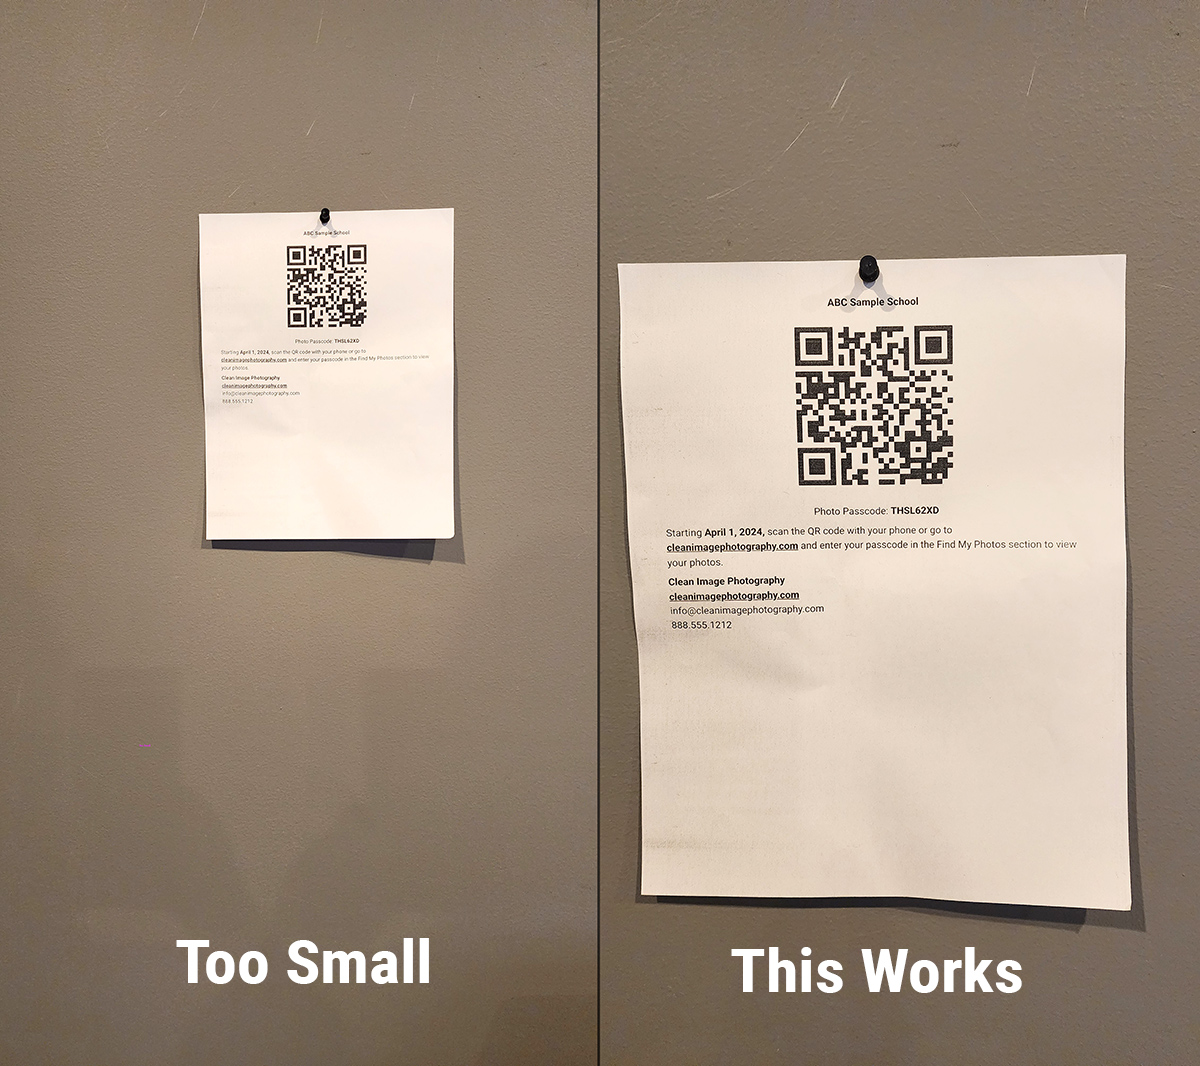
When photographing the QR code it is important that the QR code is as straight as possible, not skewed or too small.
How to test capturing the QR data from a photo
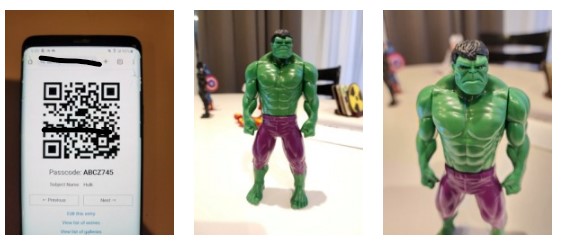
1) Take a photo of a QR code print out or from a device. Then take a photo or 2 of a subject.
2) Create a QR Passcode gallery.
3) Upload those photos to that gallery and be sure "Check for QR Codes" is checked in the upload dialog.
After they have uploaded you should only see only the subject photo in the gallery and not the photo with the QR code if successful.
If you do see the QR code photo in the gallery then it did not read the QR code from the photo.
Click the Verify Photos link to go to the verification page.
QR code not discovered.
If the QR code is not discovered then the QR code is too small in the photo, the QR code is blurry or the QR code is skewed.
Screenshot QR Code Method
Another way to capture the QR code before taking the photos is to screenshot the QR code first using your phone.
But doing it this way you have to adjust the way you upload the photos.
Instructions:
- First make sure your phone and camera has the correct time down to the second.
- Pull up the QR mobile site and view the QR code of the subject. Make a screenshot of the QR code then photograph the subject.
- When you are ready to upload photos, put the screenshots and the photos into the same folder. In your Sytist admin, go to upload the photos as you normally do using the Sytist uploader (this does not work with FTP upload).
- In your file explorer dialog where you are selecting the photos, change the sorting to date/time taken ascending instead of by file name. Then select all and upload.
- This way they are uploaded in the order of date/time taken and will process the screenshots in front of the subjects photos.