The Mail Sending Settings sets how emails are sent from Sytist.
Most of the time the "PHP mail() function" works fine. However if you are having troubles with emails getting through you may want to use the SMTP PHPMailer option which sends the emails through the mail servers and has a better chance getting through.
Please know that Sytist tell the server to send the email and it is up to the server to actually send the email. If you are having issues receiving emails it is not the fault of Sytist.
SMTP PHPMailer
An alternative to using the default mail() function to send emails is using PHPMailer. This option is in Settings -> Mail Sending Settings.
To use this option you are basically going to create an email account (or use an existing one) in your hosting control panel and send the emails through the mail server.
Creating an email account
In this example I will be using cPanel which is a very common hosting control panel.
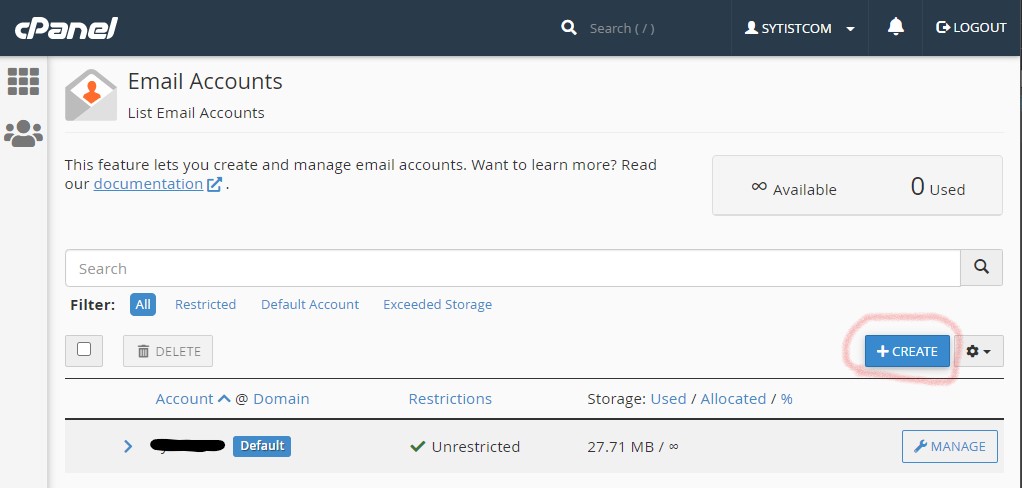
Log into your cPanel and in the Email section click Email Accounts and on the following page click the Create button.
?
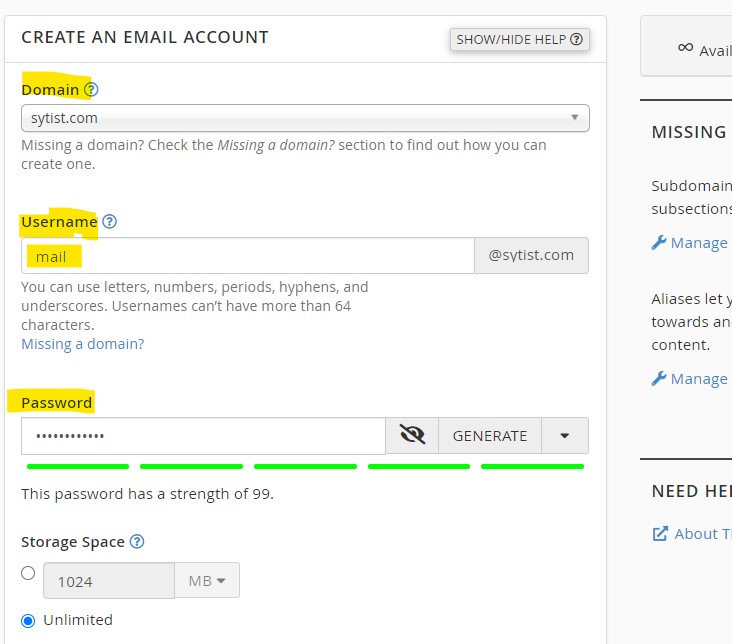
Next enter in the email address you want to create, leave the rest of the options at default and click Create.
Next click the Connect Devices button next to the email address you created.
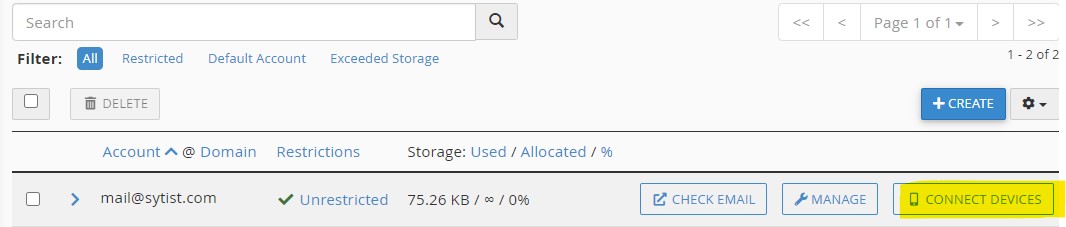
You will find the connection settings you will need to enter into your Sytist admin.
Go to Settings -> Mail Sending Settings and set the Mail Sending Function to SMTP PHPMailer.
Under SMTP settings:
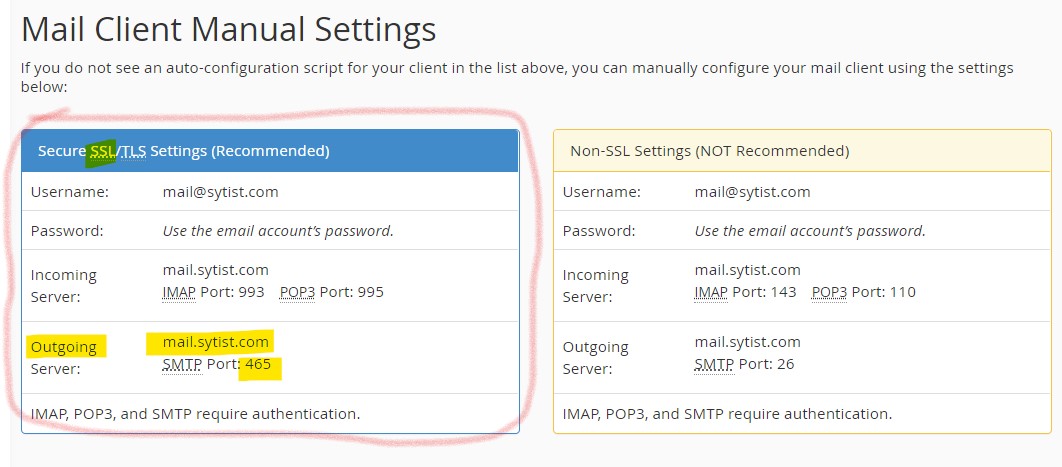
SMTP Host: This is the outgoing mail server. In the example above it is mail.sytist.com. This will most likely be mail.yourdomain.com
SMTP Username: This is the email address. In the example above it is mail@sytist.com.
SMTP Password: The password you created for the email account.
SMTP Encryption and SMTP Port: Most likely it is going to be ssl for the SMTP encryption and 465 for the port. You will see the port like highlighted above. Another setting could be tls for the SMTP encryption and 587 for the port.
After you have filled out the form click Update Settings and then you can send a test email from this page. It will show you a response which may look like a bunch of gibberish. But if there is an error it will display on the page.